Matthew Clark
SMC UVU Assembly Line
UVU Senior Project
Overview
This was my senior project at UVU in the Automation & Electrical Technology (AET) program. This project started January 2020 and in March that year we were all promptly kicked out of the school for COVID and never got to properly finish it and show it to a project fair. What is here are some videos of the system we fixed up for the school in 3 of 5 months.
Project Description
The purpose of this project was to refurbish a machine that had existed for sometime, but ran on older hardware. My project partner and I sought out to update the system from Allen Bradley MicroLogix to Allen Bradley Compact Logix and program them to function. The orignal scope of the project was:
- Replace 3 PLCs and Rewire them
- Program each PLC Individually
- Make them work together seamlessly
- Add safety precaution
- Make a new HMI Program with Factory Talk to display our 3 stations
We completed the project within this scope much faster than anticiapted so we took scope creep and added in we replace all 9 PLCs on the system and program the entire assembly line.
Images
This section consists of what we referred to as "Station 5 Cap", "Station 6 Screw", and "Station 7 Robot". These were the 3 stations that were the original scope of the project, however, we do have some photos and videos of the rest of the machine running, but they may not be the main focus of the photo/video.
Overall Project
These videos show the overall project working together, mainly the 3 stations within our original scope. You can see how the conveyor runs and watch how one station not finishing its task in a reasonable time conjests the line. In total there are 9 PLC's involved on this machine, however only eight were programmed with 1 being the "master" (the conveyor belt PLC) that all the PLCs communicate to. In these videos that we were able to record, you primarily see Stations 5, 6, and 7, however, you can see Stations 2 and 3 also running in these videos as well. I wish we were able to get more footage before we had to quit working on the project, but for the time we had, I think what we have is phenomenal.
Station 5 Cap
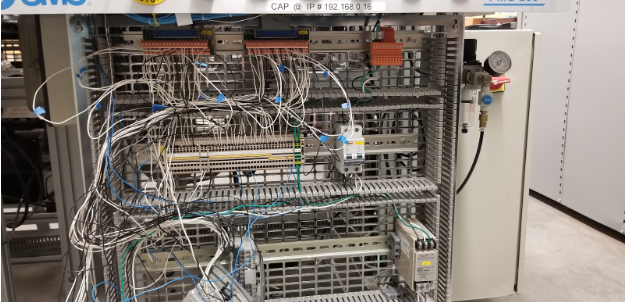
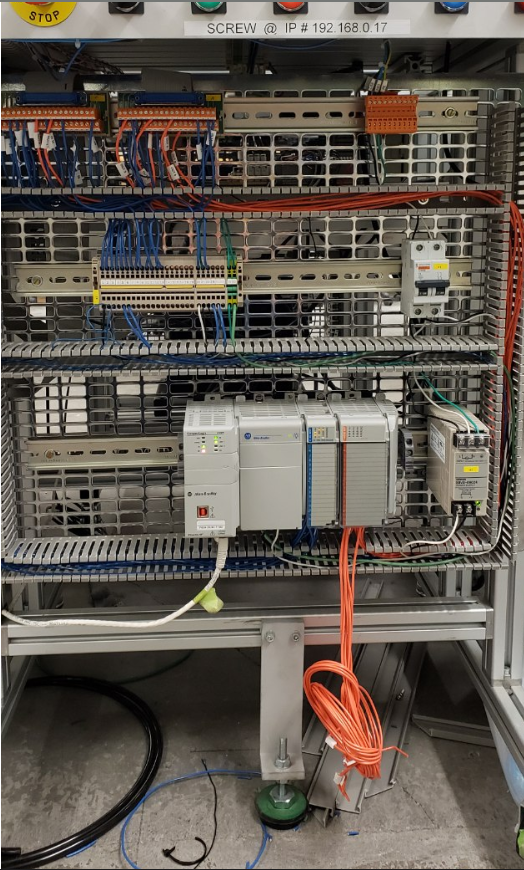
 This is an example of what the the stations looked like before and after we started. Every station looked similar to these photos before and after.
 I, unfortunately,
don't have images of what they all looked like. For each station, we started taking notes of what each wire was and its purpose, then landed what we could to terminals to keep them organized and allow us to run new wiring to the PLC. We checked wiring schematics to be sure everthing was correct and updated what the school had to reflect
the changes we made.